As with any other member of the family, pets are fun to have around, but it takes a lot of time and hard work to raise them into well-behaved and healthy companions.
If you have a furry pet like a cat or dog, grooming is an essential part of their upkeep. Trips to the groomer can easily add up so there are a few basic things that you can get done for your animal's hygiene in the comfort of your home.
We've previously shared tips on how to prevent your dog from developing stinky breath, now we're bringing you some important tips and tricks for cleaning your pooch's ears.
Regular and proper cleaning of the ridges of the external portion of the ear canal can get rid of foreign matter and make room for air to flow to the canal which is important it keeping infections and other ear-related complications at bay.

There are plenty of underlying causes of ear infections in dogs including dirt, allergies, and moisture from remnants of bath water and chemicals in grooming products. These give away for bacteria and yeast to grow in the ear, an excess of which will lead to nasty infections.
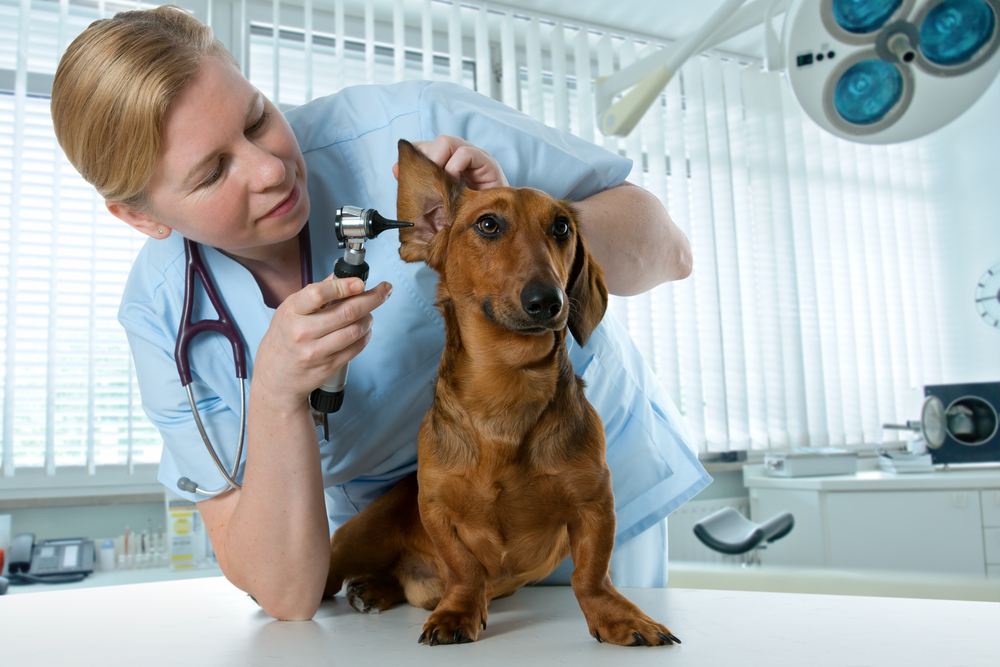
Checking your dog's ears regularly is highly recommended and it can be as simple as a "sniff and see" test. Get into a habit of smelling and looking inside your pup's ears. If it's stinky and looks reddish with a dark discharge then a visit to the vet is in order.
As long as your dog's ear is a nice shade of pink with a pale yellowish wax then it may not need to be cleaned. Some dogs are genetically predisposed to producing more secretions while others have less, therefore it is important to talk to your vet before beginning a cleaning routine.
Once you understand your dog's needs, follow the tips on the next page for tips on how to make the cleaning process as easy and comfortable as possible.
1. Gather the right tools
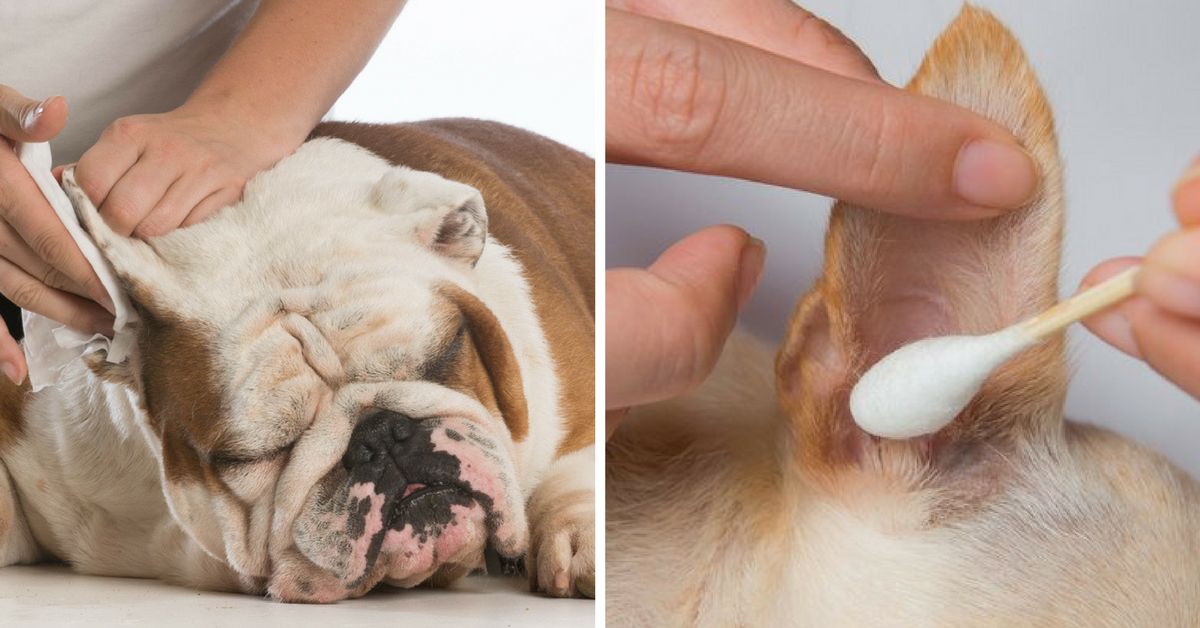
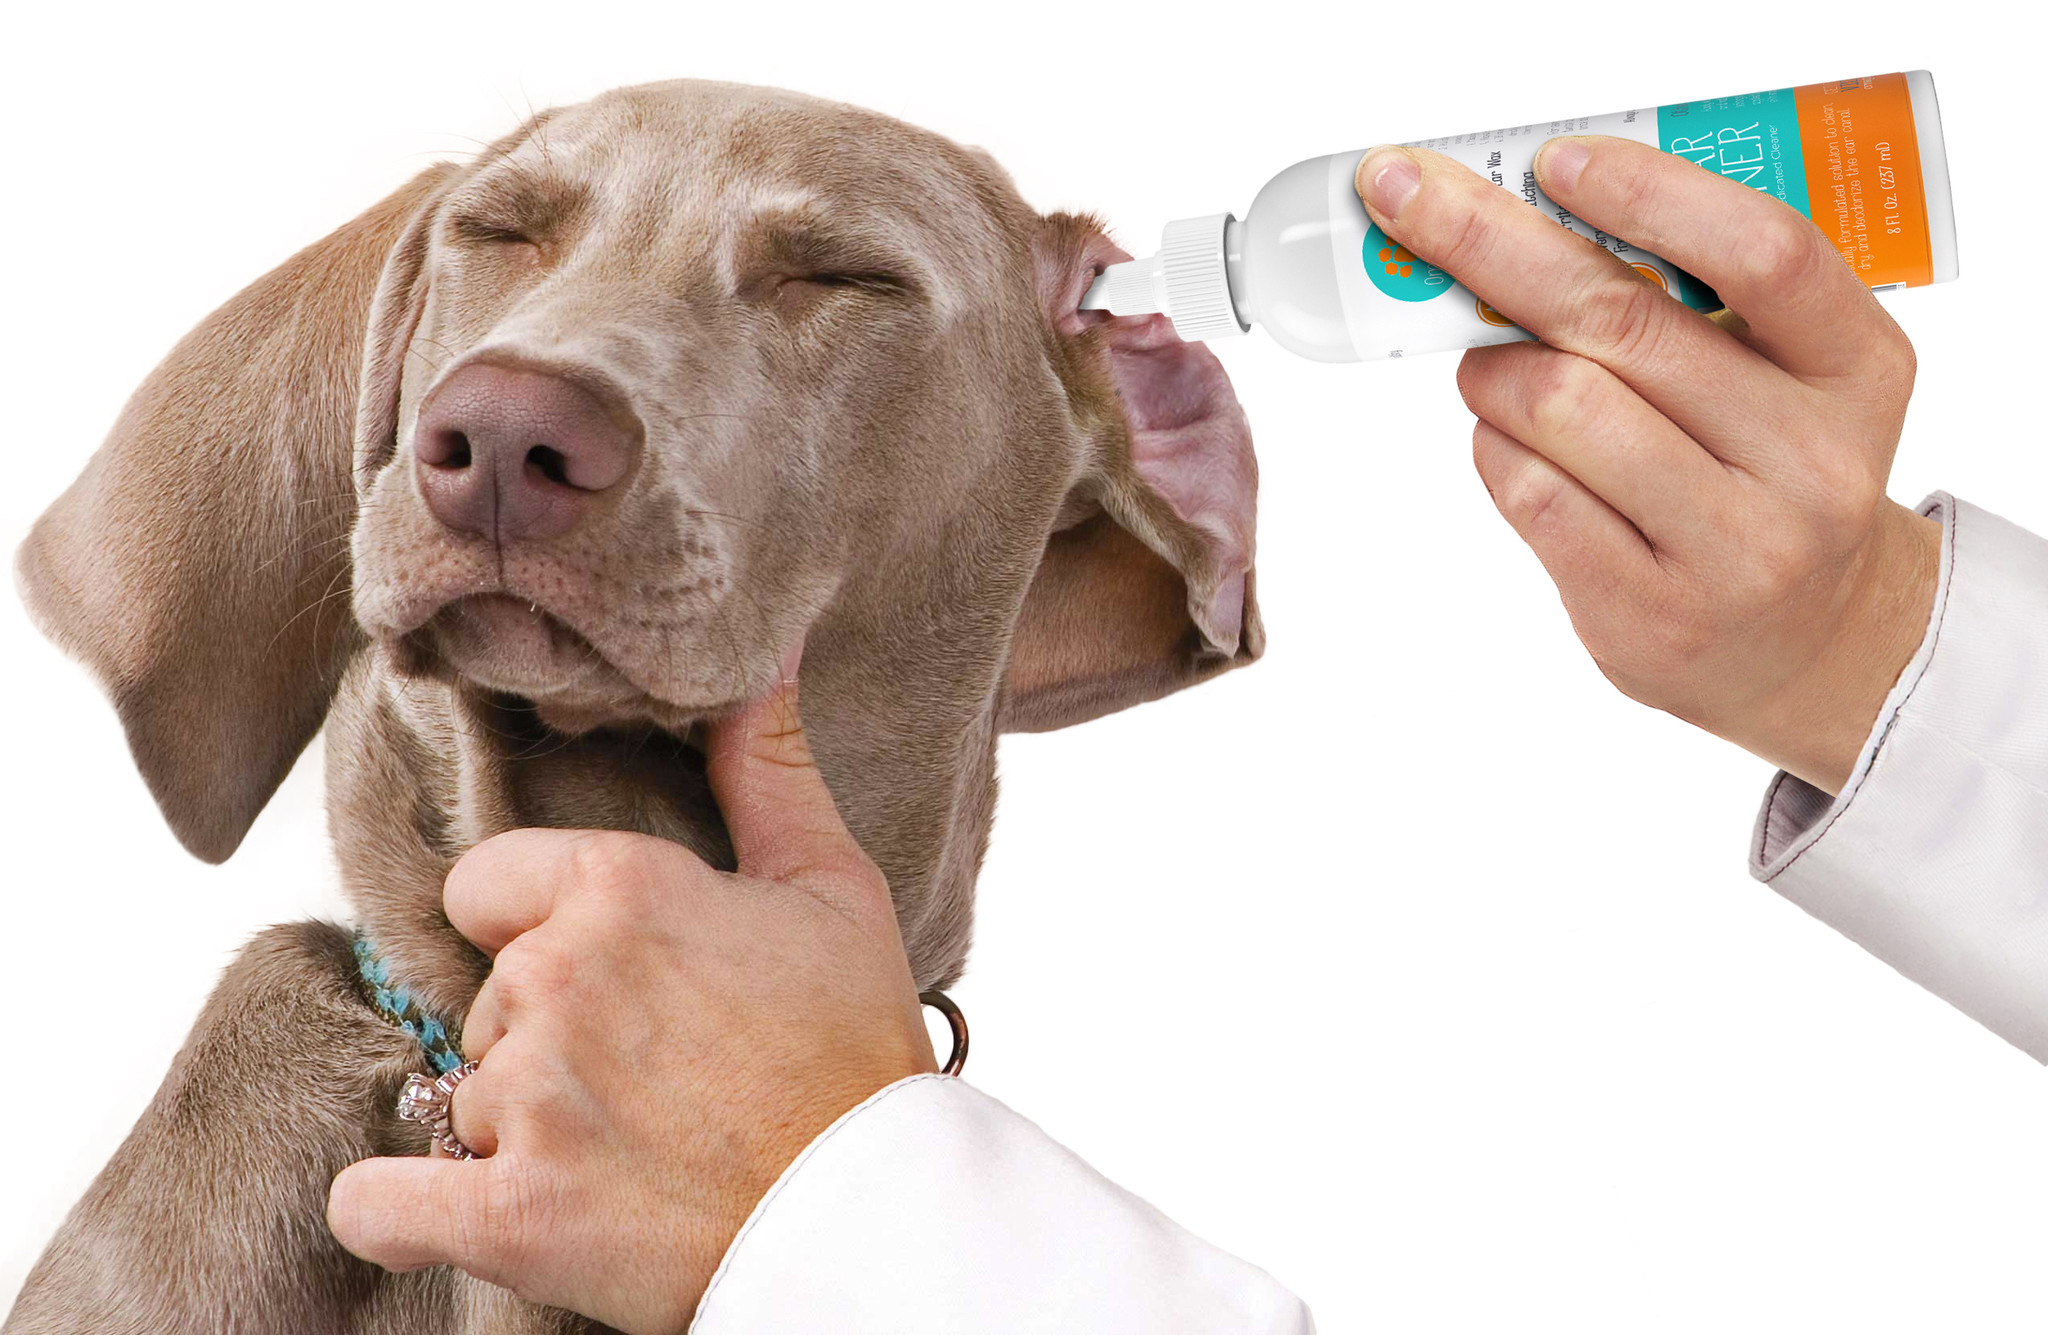
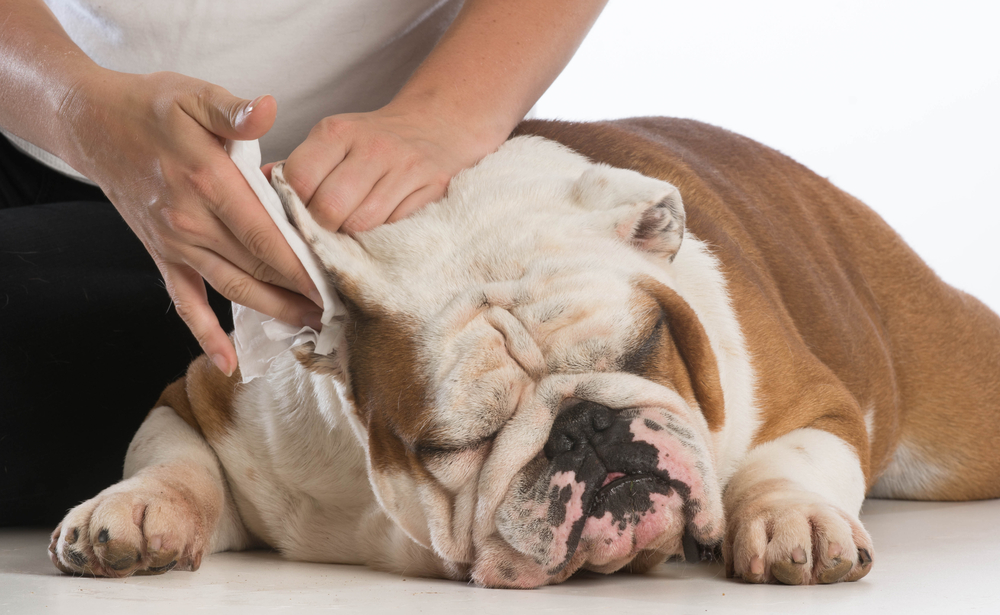
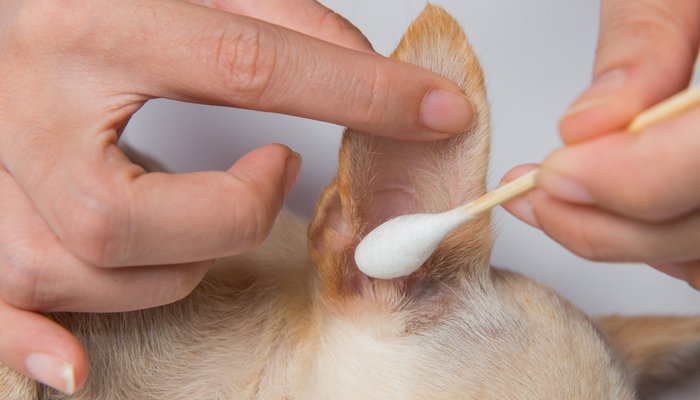
You will need a few supplies to properly clean your dog's ears. You will need cotton-tipped applicators, cotton balls or pads, tweezers, a towel and most importantly a good quality, veterinarian-recommended cleaner. Make sure to look for a product that does not contain alcohol, antibiotics or steroids. If you think that your dog's ears are too sensitive for tweezers, just wear gloves and use your finger wrapped in gauze.
2. Keep the tools within reach
There's nothing worse than struggling to get your dog back in the right position and starting over for the second or third time. Not only is will it tire you, it's frustrating for your pet too. Make sure everything you need to clean out your pup's ears is within arms reach to ensure a smooth cleaning process.
Click on the next page for more including tips on how to make your dog comfortable during cleaning.
3. Make your dog comfortable
Unlike humans, it's harder to keep a dog still for long periods of time so it is important to make your dog feel as comfortable as possible before cleaning begins. Talking to your dog and giving it treats can be helpful make the experience positive. To keep the mess to a minimum, some experts suggest cleaning your dog's ears in the tub or in the backyard right before a bath.
4. Stick to the rules
Just like you would with human ears, don't push the applicator or your finger too deep, you risk damaging the eardrum otherwise. When applying the cleaning solution, you can squirt a few drops directly on the inner part of the flap and into the ear, then massage the base of your dog's ear to loosen the debris in its ear. Next, let your dog shake it off before you proceed to clean out the ear canal.
5. Report Any Abnormalities
Whether it's your first or 50th time cleaning your dog's ears, it is important to let the vet know of anything that appears to be out of the ordinary. Ear infections are very common in dogs and are easily treatable when diagnosed early so don't hesitate to address any suspicions.
Do you clean your dog's ears or do you leave it up to the professionals? Let us know in the comments!
H/T: Cesars Way/The Spruce]
