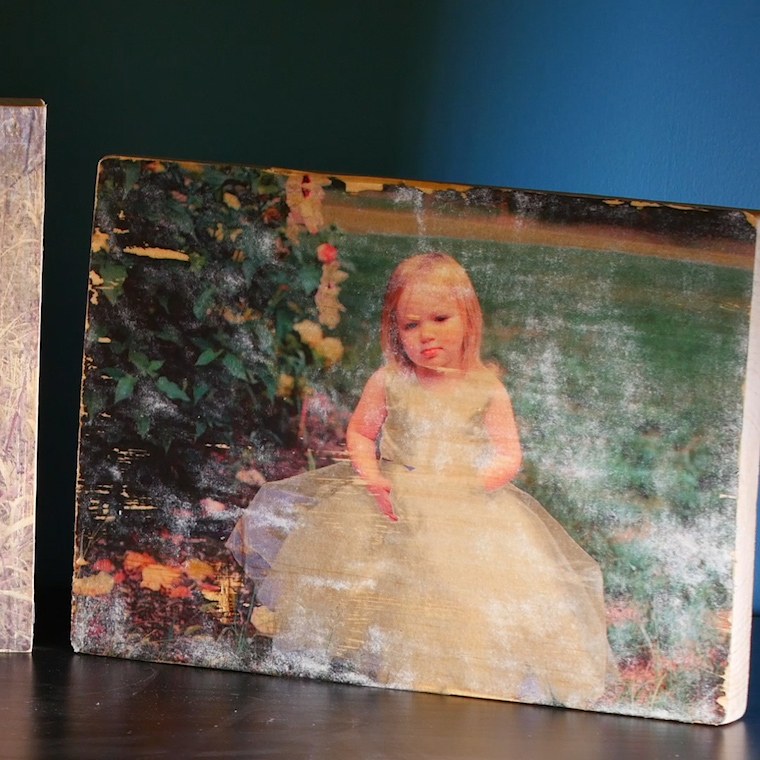
When you are looking for a way to decorate your home, having pictures of your friends, family and pets is obviously the best way to go. But sometimes, we need a cool new way to show them off. If you use this awesome wood transfer method, you will end up with completely unique and vintage-looking images that will look awesome in your home.
It is remarkably easy to do, and the result is absolutely stunning. Think how good this would be as a gift for a loved one? Check out this easy process and get started on yours today!

Materials Needed:
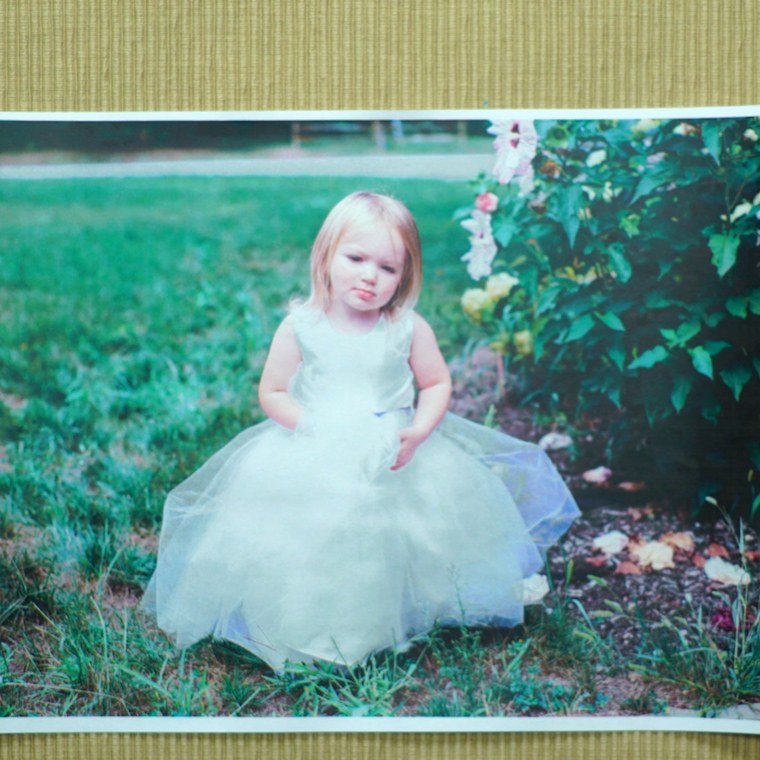
- Picture printed on regular paper
- Piece of wood cut to size you want
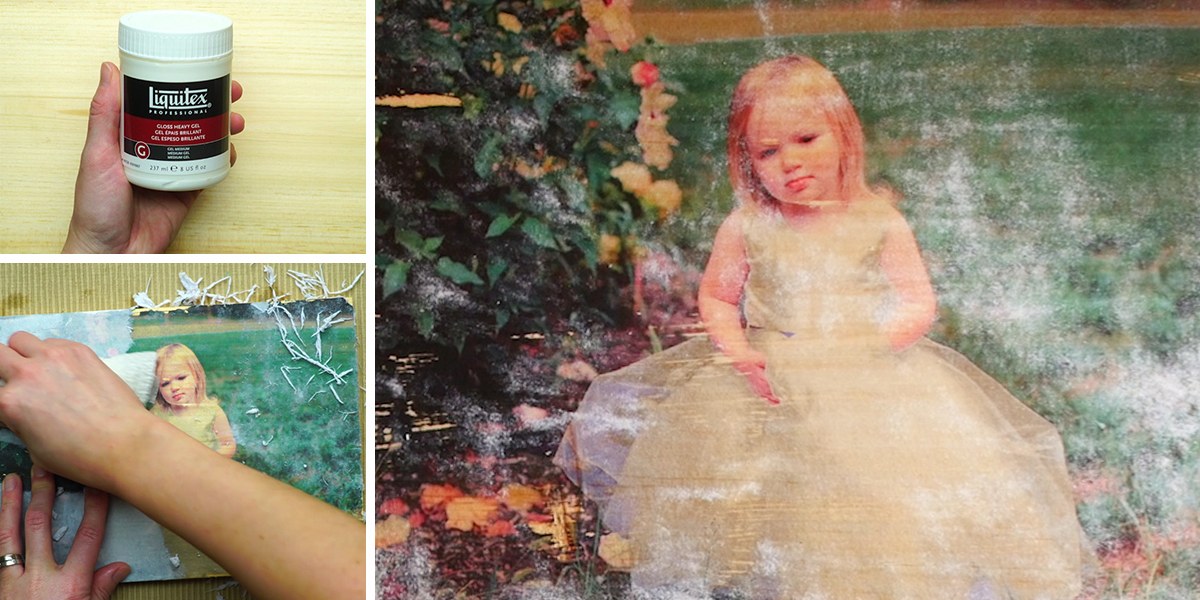
- Gloss Gel Medium
- Mod Podge.
Directions:
Print your picture on regular paper.

Measure out the size of the wood to the picture and trim image to size.
Put a good layer of the Gel Gloss Medium over the entire surface of the wood.
Put your image face down onto the gloss coating and let it dry overnight.
The next day, take a wet wash cloth or paper towel and soak the entire surface of the image.
Once the entire paper is saturated, use your fingers or the paper towel to scrub off all the paper and let it dry.
Once dry, apply a layer of Mod Podge over the entire image and let that dry.
Once dry, it will look amazing on display in your home or will make a unique and awesome gift for a loved one!

